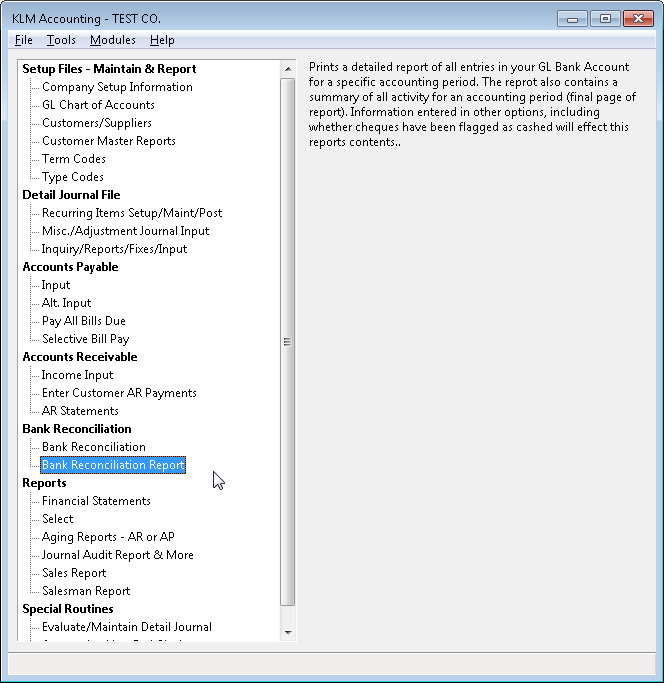
Accounting-Bank-Reconciliation-Report
BANK RECONCILIATION REPORT
PURPOSE:
To verify the accuracy of your accounting data. All accounting functions, at some point, effect your GL Bank Account(s)! This fact makes the process of matching your computer bank statement (produced by this option) and the one from your bank the best way to verify the accuracy of the bank and the person who inputs your data. In addition this program can be used to create optional reports by using the limits and options provided by this program.
REQUIREMENTS - Before Running This Report
- A statement from your bank, defining the activity for a specific month (accounting period).
- All money in and out of your bank (i.e. payments, cheques...) including any{charges or interest}on the above statement, must have been entered for the month/period in question.
- Returned cashed cheques, included with the statement from the bank, must be marked as cashed using the Bank Reconciliation option.
- All deposits, verified with the use of the bank statement, must be marked as cleared using Bank Reconciliation option (Menu #21).
- Run Evaluate/Maintain Detail Journal to make sure journal posting is to date.
Keep in mind, that by the time you reconcile period 12, the year end will have been run, so you will have to put last year in the alternate YEAR field in the Bank Reconciliation and this program. Also see SPECIAL INSTRUCTIONS FOR PERIOD 12 explained at the end of this section.
BANK RECONCILIATION REPORT OPTIONS
The **following, explains the optional selection fields **(from the run screen that appears after selecting MENU #22) you can use to customize the resulting bank report. Keep in mind that the default settings are appropriate most of the time.
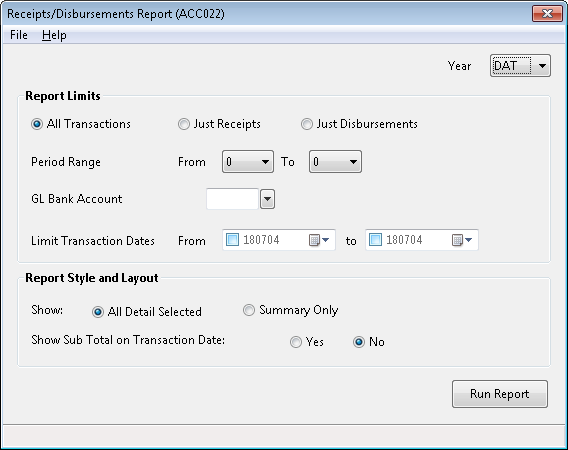
YEAR The default DAT stands for current years data files, which is appropriate for all but period 12. Period 12 is usually reconciled after the year end is run, therefore this field must be changed to the appropriate last year.
REPORT LIMITS:
Report TYPE Must remain as ALL TRANSACTION for bank reconciliations, but may be altered for custom reports produced by this program. Selecting JUST RECEIPTS will limit the report to just + amounts/deposits to your bank account. Selecting JUST DISBURSEMENTS will limit the report to - amounts/withdrawals from your bank account.
PERIOD Range Must represent the one month defined by your the bank statement being reconciled. Otherwise these fields can be used customize your own report.
GL BANK Account Your main BANK Account (as defined in Menu #1) is the Report default, but can be changed to another Bank Account if applicable.
Limit TRANSACTION DATE Leave blank for normal bank Reconciliations. Can be used as a limit in producing custom reports.
**REPORT STYLE AND LAYOUT **
SHOW If ALL DETAIL is selected, all entries for the criteria selected will print. Note that this is the default setting. If SUMMARY is selected, only the totals will print.
Show Sub-Total On Transaction Date: If YES is entered, the report produces a summary of each Transaction Day for the journal records selected. The default is NO.
RECONCILING YOUR BANK ACCOUNT - After Printing The Report
** Once you have produced a Bank Reconciliation Report** compare it to the Bank Statement. The chart produced on the last page of the report, will help to decide if it is in balance. Fill in the blanks on the Bank Statement side as follows:
- Closing Balance should contain the closing balance from the actual bank statement.
- Less Outstanding Cheques will be filled in by the program if you have been reconciling cashed cheques otherwise you you will need to apply your own applicable amount.
- +/- Misc. Bank Error will in most cases be left blank. Bank errors or late deposits adjustments can be placed here with an explanations to help balance if needed.
- Adjusted Closing is the result of the CLOSING BALANCE minus OUTSTANDING CHEQUES plus or minus any MISC. BANK ERRORS. The should match the "Computer Statement" CLOSING BALANCE.
Note: If you have used the complete Bank Reconciliation option and the bank statement closing matches the adjusted (computer) closing balance, you should need only print this report for your records.
WHEN YOUR BANK ACCOUNT DOES NOT BALANCE
Listed below are suggestions on what to do when the above report doesn't match your bank statement.
1) Separate cashed cheques for prior months from those of the current month being reconciled. Then check off each cashed cheque for the current period with those shown on your computerized Bank Statement. If a cheques is not on the report you will need to investigate your journal to find out if it is missing or just entered incorrectly. Do not check cashed cheques issued in prior months. Then check of outstanding cheques issued in this month. Any remaining cheques not checked off on the report will have to be investigated to see why its showing in this month.
2) Using the deposit book for all deposits made in this month, check off each deposit with the report. If any deposits remain unchecked, investigate and correct.
When all difference are found and corrected, run "Evaluate/Maintain Detail Journal then run this report again and fill in the chart to make sure it is in balance.
NOTE: You can force a + (plus/debit) entry to list as a - (minus/credit) and visa verse by changing the {"M/S"} field of the journal record or assigning attributes to the TYPE (see section 05) for all journal entry with that type. Place a + or - in the M/S field to force the entry to be shown in the debit or credit column.
SPECIAL INSTRUCTIONS FOR PERIOD 12
Due to timing, the period 12 statement from the bank will arrive after the year end has already been run. You will need to access last years for all related reconciliation functions, by entering last years ID number (i.e. 98) to the YEAR field option. The YEAR option can be seen in most programs in the KLM System.
After the bank account is reconciled for period 12, do the following;
1) If any entries have been posted to last year since the last time Evaluate/Maintain Detail Journal was run for that year, then run this option. Be sure to enter last years year number into the YEAR field.
2) Run ACCMENU #31 (option #2) with the appropriate prior year number filled in. In addition select YES to the ALSO BRING OUTSTANDING CHEQUES FORWARD prompt. This will make sure that the effect of any journal changes and the on-going outstanding cheques from last year will appropriately effect the current year.